Settings
You can access the settings screen in the navbar menu.
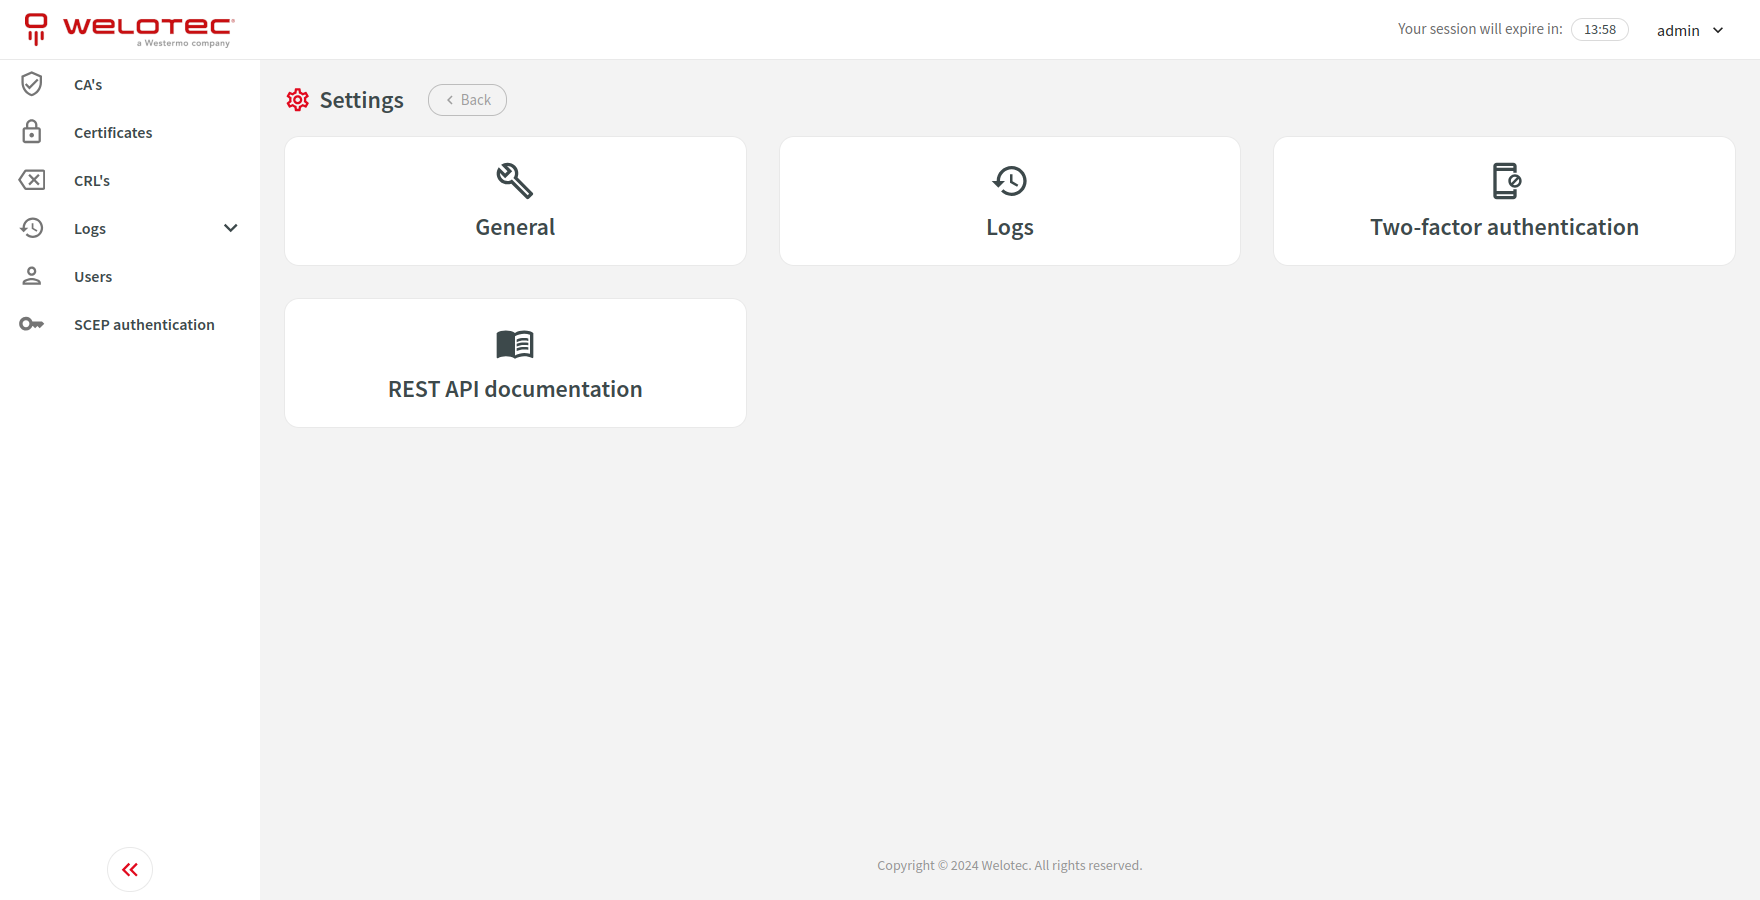
General
This section allows you to adjust general settings for the system i.e. automatically remove backups, login and password restrictions.
Logs
This section allows you to adjust settings for cleanup duration and size of different types of logs.
Two-factor authentication
This section allows you to adjust settings for two-factor authentication (TOTP).
Single Sign-on (SSO)
This section allows you to adjust settings for single sign-on (SSO).
Microsoft Entra ID with OpenID Connect
You can configure SCEP Server to use OpenID Connect to sign-in users via Azure portal App.
You can find “Application (client) ID” and “Directory (tenant) ID” in your Azure Application under “Overview”. You can read more about “Credential” options below. Please refer to “Roles” section under “Azure Application configuration” and fill “Role mappings”.
After clicking “Submit”, a new button “Log in using Microsoft” will be visible on SCEP Server login screen.
Client secret credential
On your Azure Application please navigate to “Certificates & secrets” (“Manage” section), click “New client secret”, fill the form according to your needs and click “Add”. Value in “Value” of created client secret will be needed to configure SCEP Server.
Uploaded certificate credential
Please upload public and private key. Public key should be uploaded to your Azure Application on “Certificates” tab in “Certificates & secrets” (“Manage” section).
Generated certificate credential
You can generate public and private key by checking “Generate public and private key” and saving the form. You will be able to view or download generated public key afterwards. It should be uploaded to your Azure Application on “Certificates” tab in “Certificates & secrets” (“Manage” section).
Azure Application configuration
Please navigate to “App registrations”, select your application and navigate to “Authentication” (“Manage” section). Please add platform for “Web” and add to “Redirect URIs” your SCEP Server URL followed by /authentication/sso/microsoftoidc/login (i.e. https://example.com/authentication/sso/microsoftoidc/login).
Please navigate to “Certificates & secrets” (“Manage” section) and configure it according to selected “Credential” in SCEP Server.
preferred_username claim can be used to have human readable username for the user. In order to use it please navigate to “Token configuration” (“Manage” section) and click “Add optional claim”. Select “Token type” ID, check preferred_username claim and click “Add” to apply the changes.
In order to support front-channel logout (recommended) please also configure “Front-channel logout URL”. Use your SCEP Server URL followed by /web/api/authentication/sso/microsoftoidc/logout (i.e. https://example.com/web/api/authentication/sso/microsoftoidc/logout). You also need to adjust token configuration. Please navigate to “Token configuration” (“Manage” section) and click “Add optional claim”. Select “Token type” ID, check sid claim and click “Add” to apply the changes.
Roles
In order to assign roles to specific groups or users please navigate to “App roles” (“Manage” section). Please click “Create app role” and fill the form according to your needs. Please take into considation that value set in “Value” field is used by SCEP Server to map roles in the application.
In order to map roles in SCEP Server please navigate to “Settings” (click on your username in top right corner) and “Single sign-on (SSO)”. Under “Role mappings” you can set user permissions for each role that has been created in “App roles”.
REST API documentation
This section allows you to enable or disable REST API documentation for specific users.